How to Add Subtitles to YouTube Videos 12 Easy Tips
How to Add Subtitles to YouTube Videos 12 Easy Tips

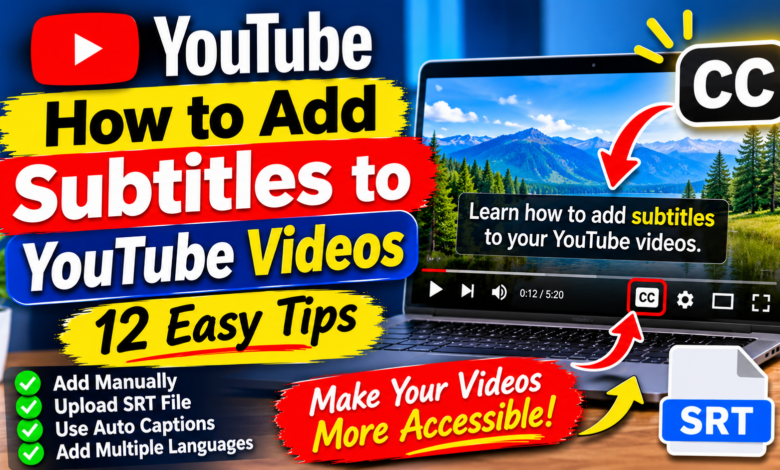
How to Add Subtitles to YouTube Videos: 12 Easy Tips
Adding subtitles to YouTube videos makes your content easier to understand and more accessible to viewers. Subtitles display spoken words as text on the screen, helping people follow your videos even when they cannot hear the audio clearly. They are also useful for viewers who prefer watching videos without sound.
Whether you publish tutorials, educational content, reviews, or entertainment videos, subtitles can improve the viewing experience. YouTube provides tools that allow creators to upload subtitle files, type captions manually, or edit automatically generated captions.
In this guide, you will learn how to add subtitles to YouTube videos using YouTube Studio, edit captions, upload subtitle files, and check that everything works correctly.
What Are YouTube Subtitles?
YouTube subtitles are written versions of the spoken dialogue in a video. They allow viewers to read what is being said while watching the content.
Subtitles can be especially helpful for:
- Viewers who are deaf or hard of hearing.
- People watching videos in noisy environments.
- Viewers who prefer reading along.
- People who speak a different language.
- Anyone watching without turning on the sound.
YouTube may automatically generate captions for eligible videos, but creators can also add or correct subtitles themselves.
1. Open YouTube Studio
The first step is to sign in to the YouTube account where your video is uploaded.
Follow these steps:
- Open YouTube in your web browser.
- Sign in to your creator account.
- Click your profile picture.
- Select YouTube Studio.
- Wait for the Studio dashboard to load.
Make sure you select the correct channel if you manage more than one. YouTube Studio provides the tools needed to manage uploaded videos, captions, and other channel settings.
2. Select the Video You Want to Add Subtitles To
After opening YouTube Studio, find the video that needs subtitles.
- Click Content in the left-side menu.
- Find your uploaded video.
- Click its title or thumbnail.
- Open the video details page.
- Look for the Subtitles option in the available settings.
You can add subtitles to an existing video without uploading the video again. This is useful when you want to improve an older tutorial or make previously published content more accessible.
3. Open the Subtitles Editor
Select the Subtitles option to access the caption management area.
You may see the video’s original language and available subtitle tracks. If YouTube has generated automatic captions, they may appear here when processing is complete.
Choose the appropriate language for your subtitles. If no subtitle track exists, look for the option to add one.
The available controls may vary depending on the video, language, and YouTube Studio interface.
4. Add Subtitles Manually
Manual subtitles allow you to write the exact words spoken in your video.
To add them:
- Open the subtitle editor.
- Select the language.
- Choose the option to add subtitles.
- Select the manual typing or editing option.
- Enter the spoken words.
- Adjust the timing of each subtitle.
- Review the complete track.
- Save or publish your changes.
Try to keep each subtitle short enough to read comfortably. Make sure the text appears when the speaker says the words and disappears at the appropriate time.
Manual subtitles are useful when your video contains technical terms, names, or words that automatic captions may misunderstand.
5. Use YouTube Automatic Captions
YouTube can automatically generate captions for many videos using speech recognition technology.
If automatic captions are available, open the video’s Subtitles section in YouTube Studio and check the existing subtitle tracks.
You can review and edit the generated text before relying on it.
Automatic captions can save time, but they are not always accurate. Background noise, accents, fast speech, music, and technical vocabulary can cause errors.
Always check the captions carefully, especially when your video includes instructions, numbers, product names, or important information.
6. Upload a Subtitle File
If you already have subtitles prepared, uploading a subtitle file can be faster than typing everything manually.
YouTube supports common caption file formats, including SRT and other supported formats.
Follow these steps:
- Open the video’s Subtitles section.
- Select the language.
- Choose the option to add subtitles.
- Select Upload file, if available.
- Choose whether your file includes timing information.
- Select the subtitle file from your computer.
- Review the uploaded captions.
- Save or publish the track.
An SRT file usually contains subtitle text along with start and end timestamps. Check that the file uses the correct timing and formatting before uploading it.
7. Edit Automatically Generated Subtitles
Automatic captions often need corrections.
To improve them, open the subtitle track in YouTube Studio and select the editing option.
Pay attention to:
- Incorrectly recognized words.
- Misspelled names.
- Missing punctuation.
- Incorrect numbers.
- Technical terms.
- Sentences that appear at the wrong time.
Listen to the original video while reviewing the text. This makes it easier to identify mistakes and produce accurate subtitles.
After editing, save or publish the updated subtitle track.
8. Add Subtitles in Multiple Languages
If you want to reach viewers who speak different languages, consider adding translated subtitle tracks.
For example, an English tutorial could also include Urdu, Spanish, or German subtitles if those languages are relevant to its audience.
To do this, open the Subtitles section, select the option to add another language, and enter or upload the translated captions.
Make sure the translation communicates the original meaning naturally. Direct word-for-word translation can sometimes create confusing sentences.
If you use an automatic translation tool, review the result before publishing it.
9. Check Subtitle Timing and Readability
Correct words are important, but timing also matters.
Subtitles should appear when the corresponding speech begins and remain visible long enough for viewers to read them.
Follow these practical tips:
- Avoid displaying too many words at once.
- Break long sentences into readable sections.
- Keep subtitles synchronized with speech.
- Use correct punctuation.
- Check that captions do not disappear too quickly.
- Review the video at normal playback speed.
Watch the entire video with subtitles enabled to identify timing problems that may not be obvious in the editor.
10. Test Subtitles Before Sharing Your Video
After adding subtitles, test them from the viewer’s perspective.
Open your video on YouTube and turn on the CC button in the video player, if captions are available.
Check whether:
- The correct language appears.
- The text matches the spoken words.
- Subtitles are properly synchronized.
- There are no major spelling errors.
- The captions remain readable throughout the video.
You can also test the video on a phone and a computer. This helps you understand how the captions appear on different screen sizes.
11. Improve Your Subtitles for Tutorial Videos
If you publish educational or how-to videos, accurate subtitles are particularly useful.
Tutorials often contain technical words, instructions, settings, and step-by-step explanations. Incorrect captions can make these details difficult to understand.
For better results, use clear language in your script, speak at a comfortable pace, and review technical terms carefully.
For example, if you explain how to open YouTube Studio, make sure the subtitle correctly displays the words “YouTube Studio” rather than an incorrect automatic transcription.
12. Keep Your Subtitle Tracks Updated
If you edit the audio or replace information in an older video, review its subtitles too.
A caption track that no longer matches the video can confuse viewers. Update the text and timing whenever necessary.
You can also add additional languages as your audience grows. Review your most useful videos first, especially tutorials that continue attracting viewers.
Maintaining accurate subtitle tracks helps keep your video content accessible and easier to follow.
Common Mistakes to Avoid
When learning how to add subtitles to YouTube videos, avoid these common mistakes:
- Trusting automatic captions completely: Always review generated text for errors.
- Using incorrect timing: Synchronize captions with the spoken words.
- Adding too much text: Keep subtitles short and readable.
- Ignoring technical terms: Check names, numbers, and instructions carefully.
- Skipping mobile testing: Review captions on smaller screens.
- Publishing unreviewed translations: Make sure translated subtitles preserve the original meaning.
Conclusion
Learning how to add subtitles to YouTube videos is a useful skill for every content creator. You can add captions manually, edit automatic subtitles, upload an SRT file, or provide translations in additional languages.
Start by opening YouTube Studio, selecting your video, and visiting the Subtitles section. Then choose the method that works best for your content and review the finished captions before publishing.
Accurate subtitles make your videos easier to follow and more accessible to a wider audience. Take time to check the wording and timing so viewers can enjoy your content without unnecessary confusion.